Tasks on this list range from a free county clerk visit for your marriage license to a day-of coordinator, and the ones that cost real money are the ones where a mistake is public or permanent.
Hair and makeup, your venue, and the vendors you choose are worth paying pros for, while invitations, decorations and favors can stay a DIY job.
Get at least 2 quotes from every major vendor before you sign anything, because the same date can price out very differently from one to the next.
1. Book a Venue
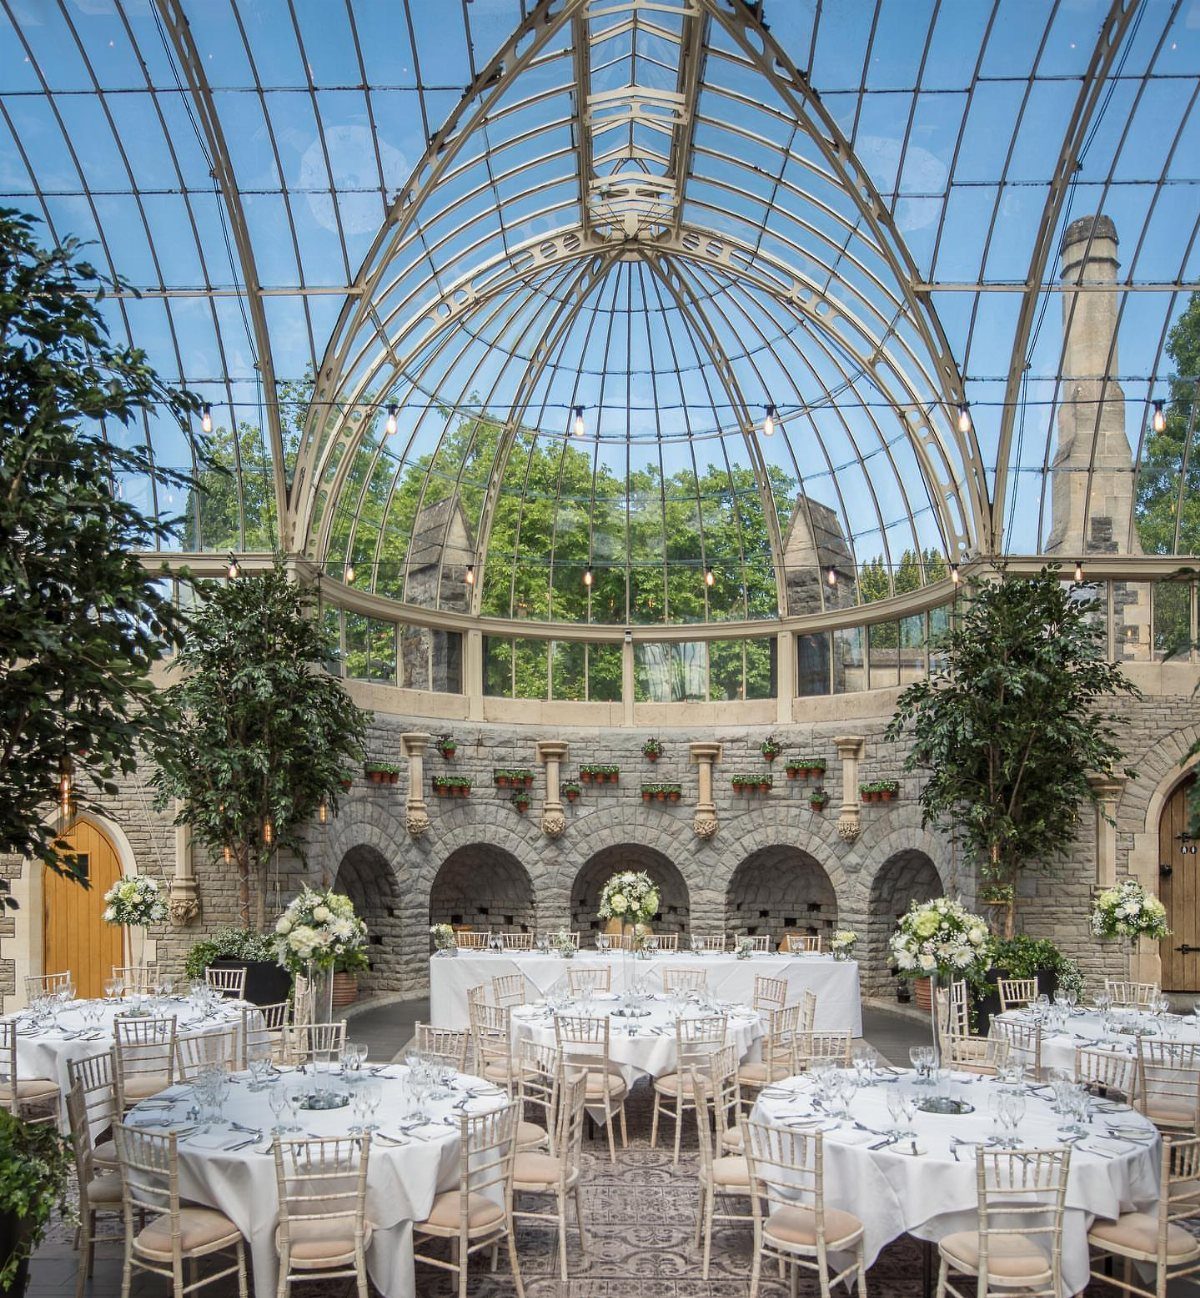
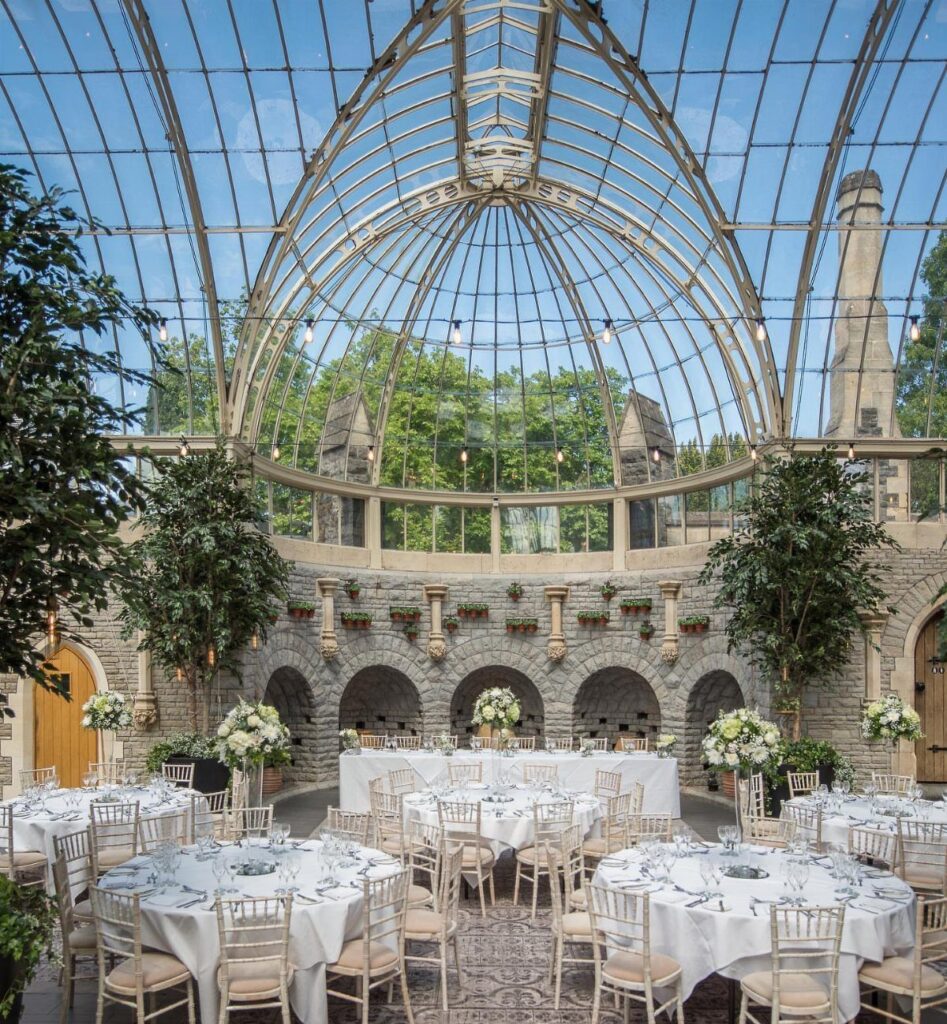
A glass-domed room like this one is the kind of space that disappears from the calendar first, so the venue decision should come before almost everything else on your list.
Date, guest count, and budget all hang on it, and vendors will ask which venue you booked before they quote you anything.
Tour two or three places in one weekend, ask what the rental fee includes, and read the contract before you pay the deposit. I would pick the room I can picture full over the one that only photographs well empty.
2. Organize Transportation
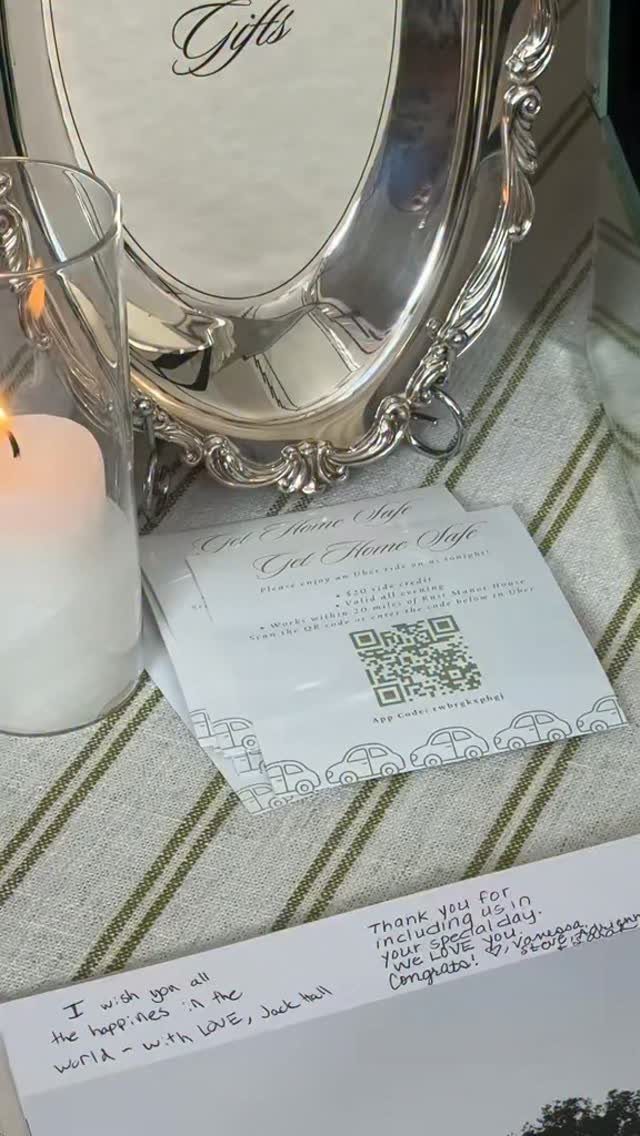
Get Home Safe cards, a rideshare credit handed to guests at the end of the night, solve the problem of who drives after the toast.
Set one out near the exit or the bar, with a short note, and guests can scan the QR code on the way out.
For a wedding party, I would also book a shuttle or a driver for the key legs: hotel to ceremony, ceremony to reception. Confirm pickup times in writing, and give everyone one printed schedule so nobody is guessing.
3. Create a Seating Chart
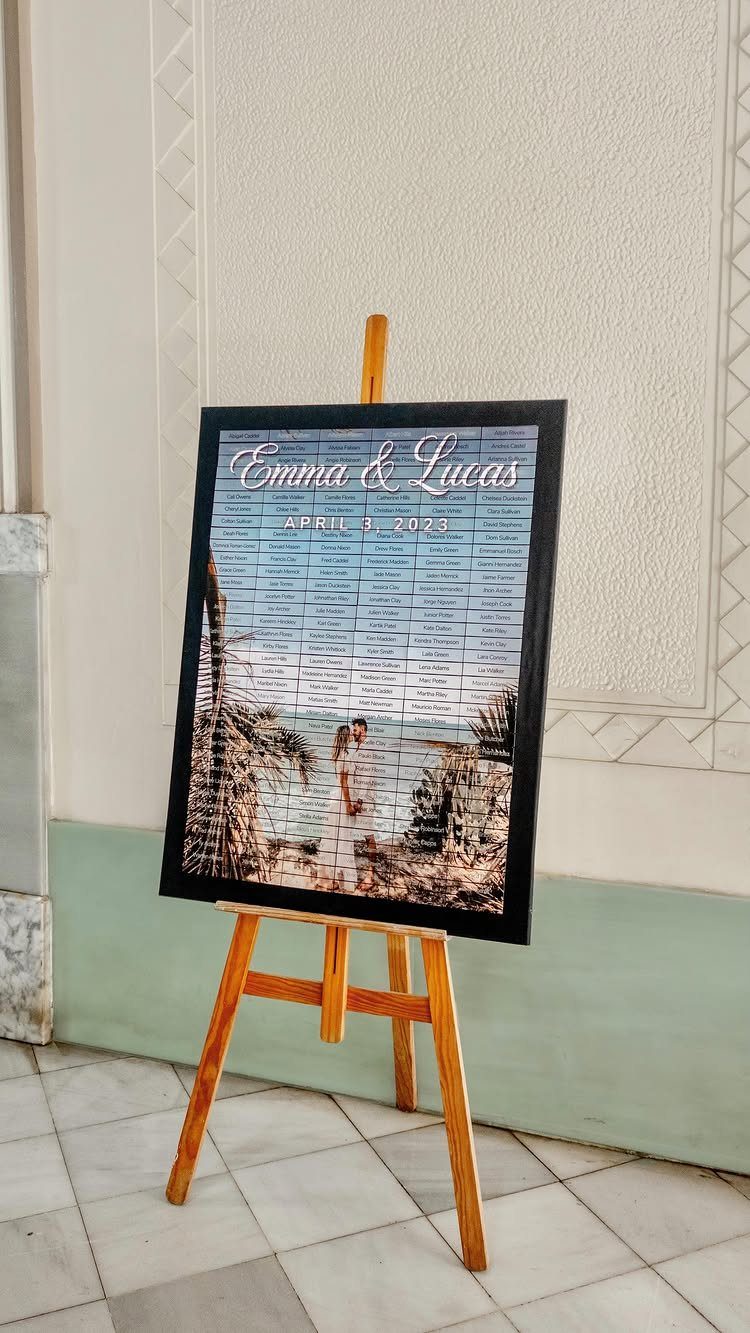
Seating charts wait on RSVPs, and that is the whole trick to finishing one without redoing it three times.
Once replies are in, group guests by table and keep each table’s names in a clear list, as an easel display does.
Start with the people who must sit together, then add the ones who get along.
Draft it in a spreadsheet before it goes to print, because a late cancellation is cheap to fix on screen and expensive on a framed board.
4. Invitations and Stationery
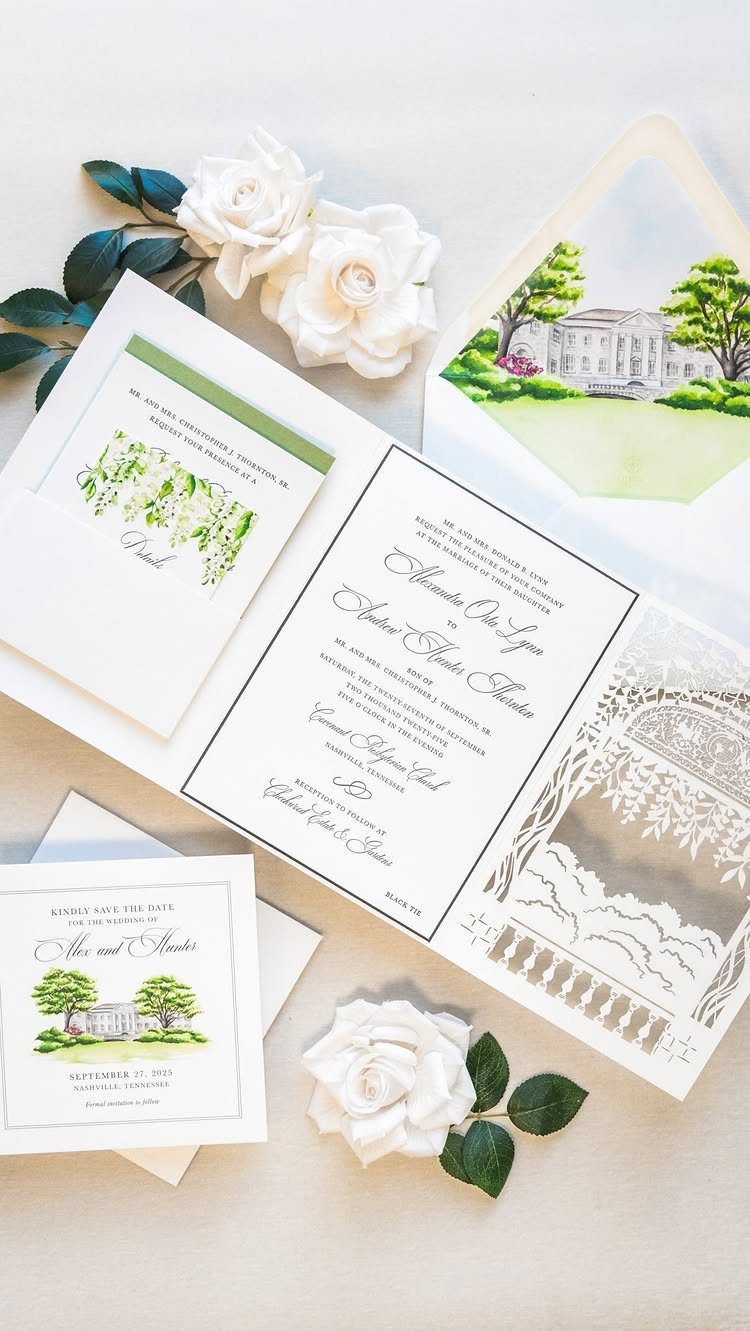
Invitations tell guests what kind of wedding to expect before they arrive, so match the paper to the day.
A watercolor illustration of your venue, a save-the-date card, and laser-cut details make a suite that feels personal, though each extra piece adds to the price.
On a tight budget, I would spend on the main invitation and print the rest simply. Order a sample first, check the spelling of every name, and send save-the-dates well before the formal invitations.
5. Wedding Decorations and Flowers
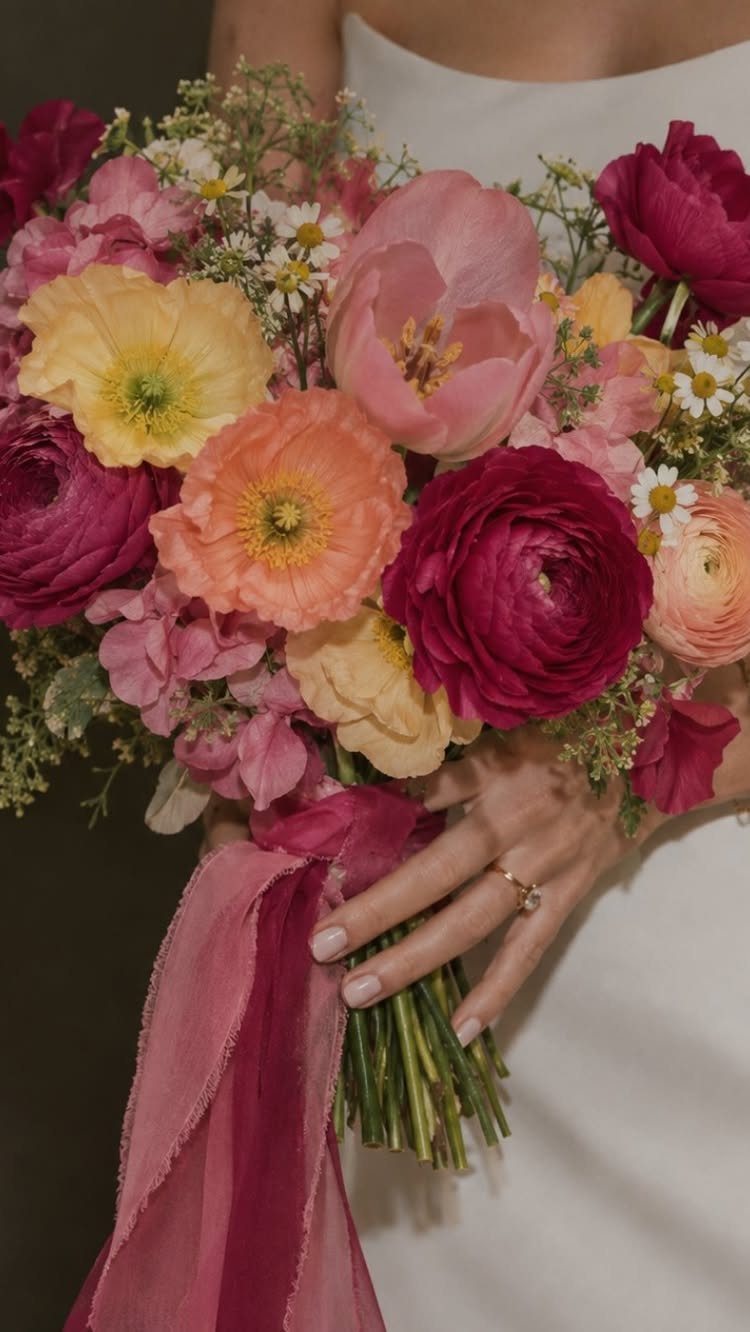
A bouquet in a tight palette of pink, yellow and red, tied off with a burgundy ribbon, shows that color alone can carry a look, so spend on stems in 2–3 saturated shades and let a single ribbon in a deeper tone do the finishing work.
Pick two or three shades, then repeat them in your centerpieces and ceremony pieces so the whole day feels like one decision.
Flowers and decor can swallow a budget quietly. I would put the money into the bouquet and the tables guests sit at, and keep everything else simple.
6. Order Wedding Favors
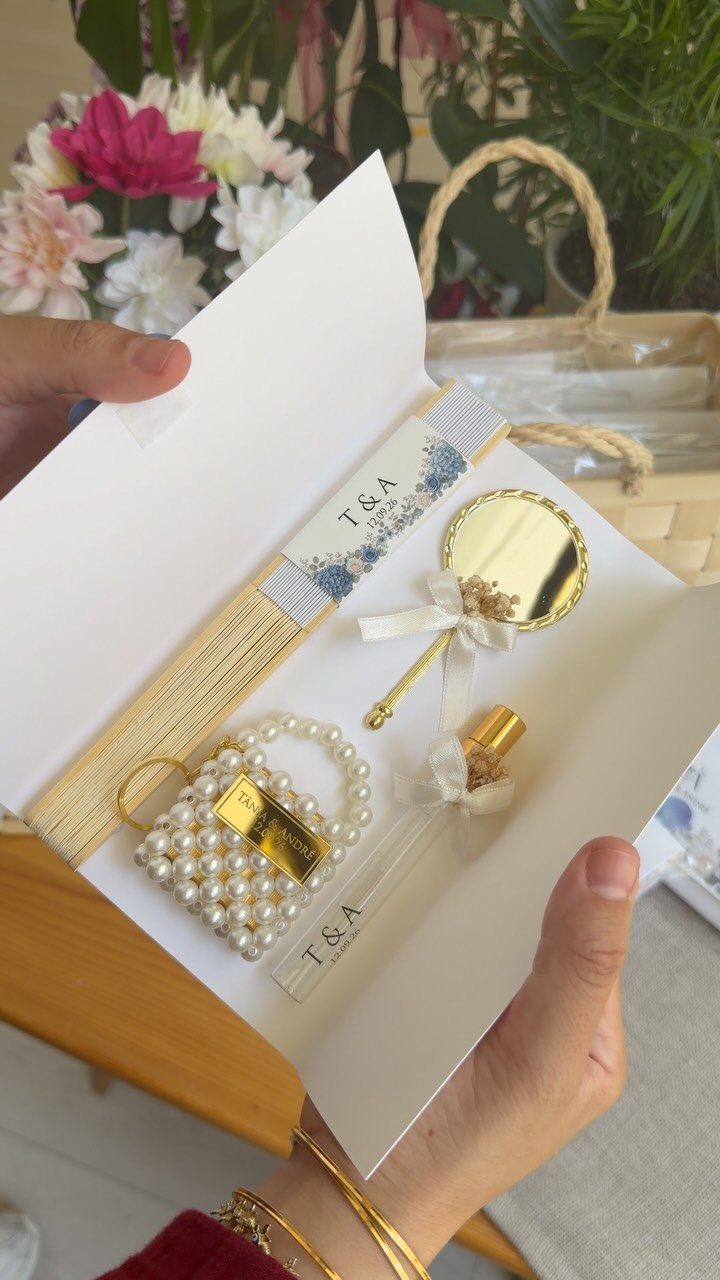
A favor works when guests would actually keep it. A box with a perfume bottle, a mirror, and a pearl keychain, all marked with the couple’s initials and names, feels chosen rather than ordered in bulk.
Personalization costs more per piece, so set a per-guest number before you shop.
I like a small, useful gift over a pile of trinkets; one good item beats three forgettable ones. Order early, since custom printing takes time.
7. Get Your Marriage License
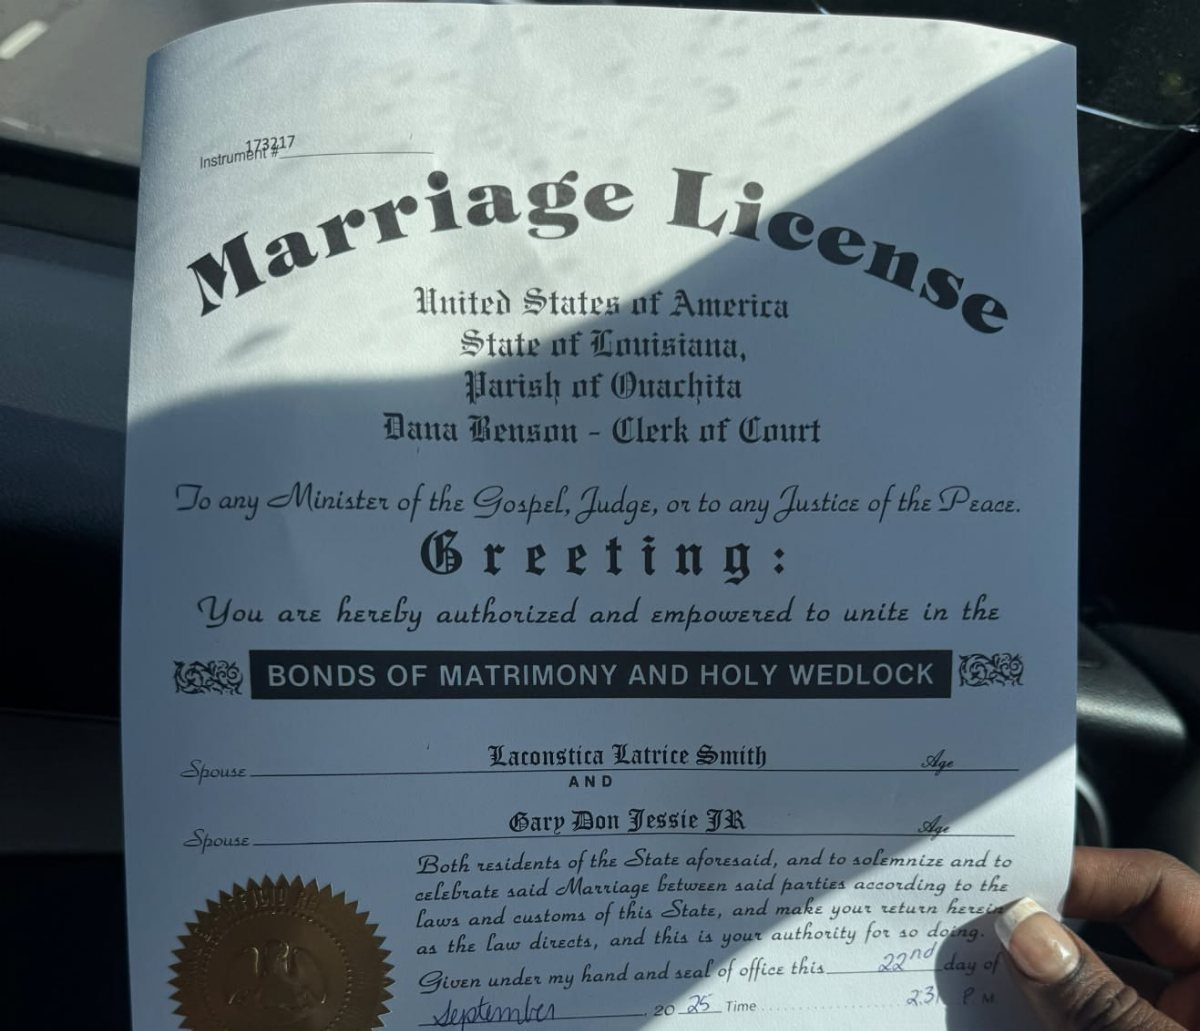
Rules for a marriage license vary by state and county, so look up your county clerk’s page before anything else. Check how long the license stays valid, whether both of you must appear in person, and which IDs they accept.
Plan to pick it up after your venue is booked and well before the wedding, so a rejected document does not land on the final week.
A license like this one carries a seal and handwritten dates, so check every name for spelling before you leave the counter.
Ask your officiant what they must file afterward.
8. Hair and Makeup Trial

A trial run lets you see your hair and makeup on a normal morning, with time to change your mind.
Book it a few weeks before the wedding, and wear a top you can take off without disturbing the hair, such as a wide neckline like this one.
Bring photos of the looks you like, plus your veil or hair piece if you have one. Ask the artist what the full service costs before you book, since trials are often charged separately.
I would take photos in daylight and in indoor light, then decide at home.
Enjoying Your Wedding Day
Wedding days run on a handful of small decisions made the night before, so make them early. Eat breakfast, keep water within reach all day, and plan on it being the hardest part to remember once the photos start.
Hand off every task that still needs a decision after the ceremony begins: who cues the music, who gathers the family for photos, who pays the final vendor balance.
Give each job to one named person, and write the list on a single page.
If the budget allows a coordinator for the day itself, I would spend there before almost anywhere else. Some venues include one in their packages, so ask before you hire separately.
Once the plan is handed off, trust it. Your job is to show up, eat, and dance.
Choosing Vendors
Hire a pro when the job needs skills you lack, when the timing is tight, or when a legal or safety rule applies. Photography, catering, and anything involving alcohol service or a license fit at least one of those.
Do it yourself where a mistake is cheap and fixable, such as signage or favors. Where a mistake is public or permanent, pay someone.
Professionals also earn their fee by steering your money. A good one will tell you which line item to trim and which to protect, so ask each vendor what they would cut from your budget.
Compare at least 2 quotes for each major vendor, and get the scope in writing: hours, deliverables, and what happens if something goes wrong.
Wedding Theme and Style
Pick your theme before you order anything, so every printed and physical piece draws from one source. Start with a color scheme, one font pairing, and one style of design, then reuse them across every piece.
A monogram is the cheapest way to tie things together. Put it on the invitation, then on signage, napkins, or a cake topper, and the day reads as one design.
Attire belongs in the same plan. Check your outfit against your palette in the room where you will be standing, not just in a fitting mirror.
A guest can’t plan around an invitation that skips the date, start time, venue address or RSVP deadline, so check those 4 lines before you approve a proof.